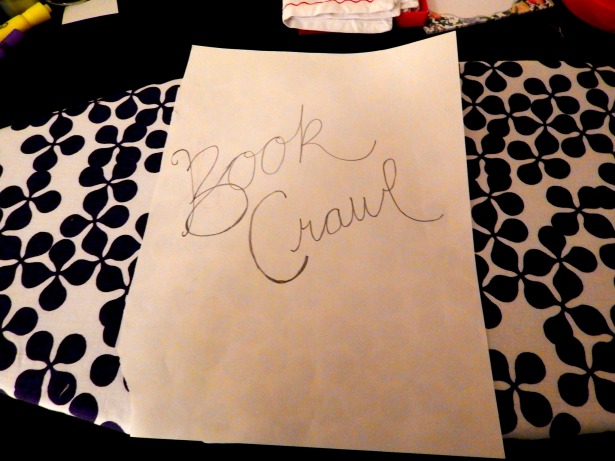
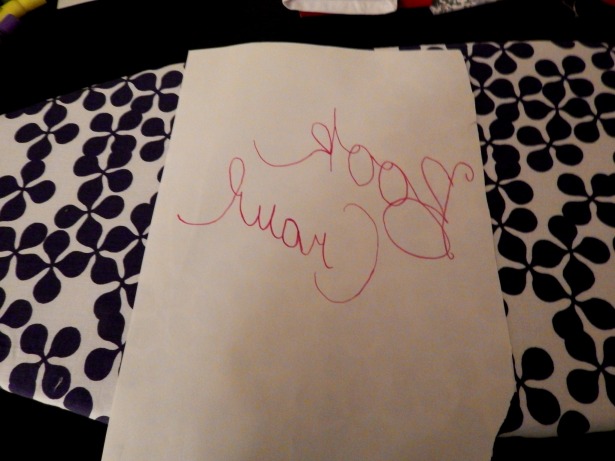
In my post yesterday I mentioned that I made a pattern myself for one of the embroidered bags. I am going to share how I did it as it was a bit unconventional but used the tools I had on hand.
Once I came up with what I wanted to do I sketched it out on some plain white paper. I made hard and dark lines with a normal pencil so it could be seen from the other side.
Once that was done I flipped the paper over and with a bright light behind me I took a transfer pencil and went over the lines. I also tried to make sure the lines were once again very dark and hard pressed.
Next I ironed the bag and while it was still warm I lined up the paper with the transfer pencil side down and ironed. I used the wool setting and was careful to keep the iron moving as to not burn the paper.
It would have been much easier if I would of had tracing paper but since I did not this method worked fine and will for you to in a pinch. One thing I think to keep in mind is that the paper I used was a good thick quality from a leather bound sketch book, I think if you used regular lined writing paper it might be a bit thin for the iron.


